See our 178 reviews on Trustpilot reviews

Increase your sales with high quality product photos

The Importance of High Quality Photos for Your Online Store

Selling on an ecommerce platform like Wakuda requires visually led content. While product descriptions are necessary for imparting helpful information about your products, it’s the photos that initially grab a shopper’s attention. So, high-quality product photography can be the difference between a sale and a customer passing you by. In fact, 90% of online shoppers say photo quality is the most important factor in their purchase decision. Therefore, this is clearly an opportunity too good to pass up. To help make things easy for you, here’s a clear guide about how you can increase your sales with high quality product photos.

Getting Started with Product Photography

Regardless of which online marketplace you use – whether it’s eBay, Etsy, or Wakuda – one thing is crucial to your success: pictures. Product photos give potential customers their first look at what you’re selling and are incredibly effective at making them click through.


How to increase your sales at Wakuda with high quality product photos, Wakuda, Black-owned

So, what do you need to get started?

It’s fair to assume most sellers take pictures on their smartphones. After all, the picture quality is so good now that you don’t need to invest in a separate digital camera.

You’ll want to use a smartphone whose camera is 12MP or higher, which means an iPhone 8 (or equivalent) or newer. Larger, high-quality product photos increase sales by nearly 10%.

But you may want to bulk your phone up with a few accessories designed to make product photography much easier. These include:

  • A tripod or stand
  • A wireless remote
  • Add-on lens
  • Photography app

A tripod and editing app are the two most essential items on this list. Apps such as VSCO and Lightroom are free or there are various paid options. Paid apps usually give you more features, but both VSCO and Lightroom are pretty good.

A wide-angle or macro lens is useful depending on how big or small your product is. Stay away from something like a fish-eye lens because it’ll distort your product.


Taking Your Product Photos

Now you have your equipment, it’s time to get started taking photos for your online store. This guide is fairly general so it’s applicable to all products here on Wakuda, but it’s easy to adapt for your specific niche.

1. Get your product

The first step is to get your product, as this will influence the next steps. Consider a few essential points about it:

  • Is it patterned? A plain background might be a good idea.
  • What colour is it? Make sure it doesn’t blend into your background.
  • What size is it? Would a macro or wide-angle lens be helpful?

Something like clothes obviously requires a different process to food or hair care products. Clothes, for example, will usually require a model, and might benefit from an outside “action shot”. This is important considering 78% of shoppers want product photography to bring an item to life, and what’s more lively than someone wearing the clothes?

2. Build your set

The set you build will depend on the product you’re photographing, which is why the questions above are helpful. Your set involves 3 crucial points (along with your product):

  1. Background
  2. Surface
  3. Lighting

Background

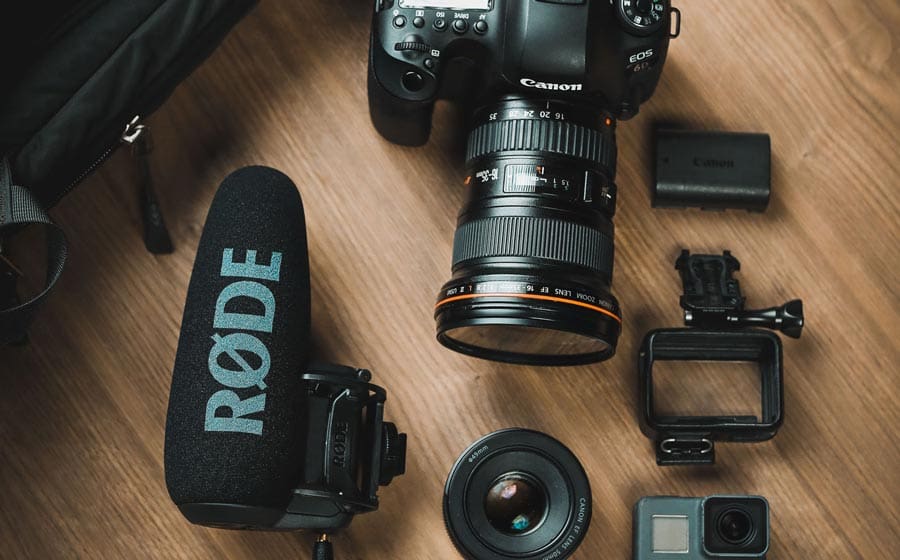
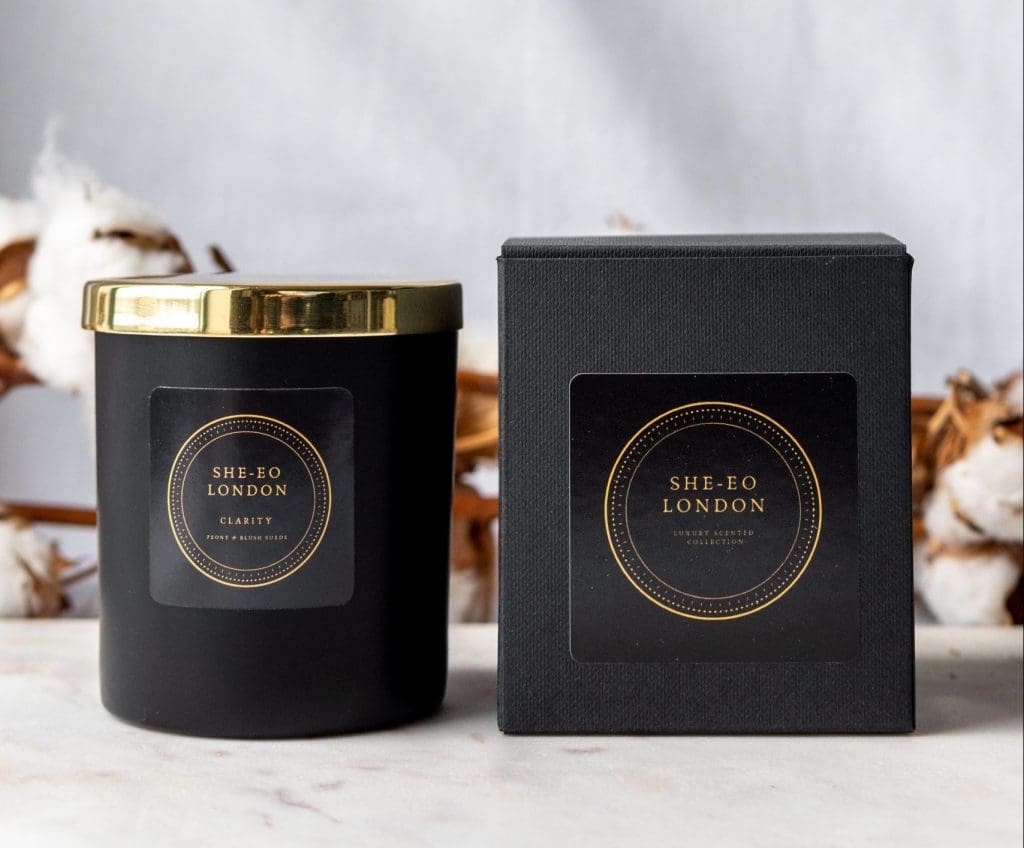
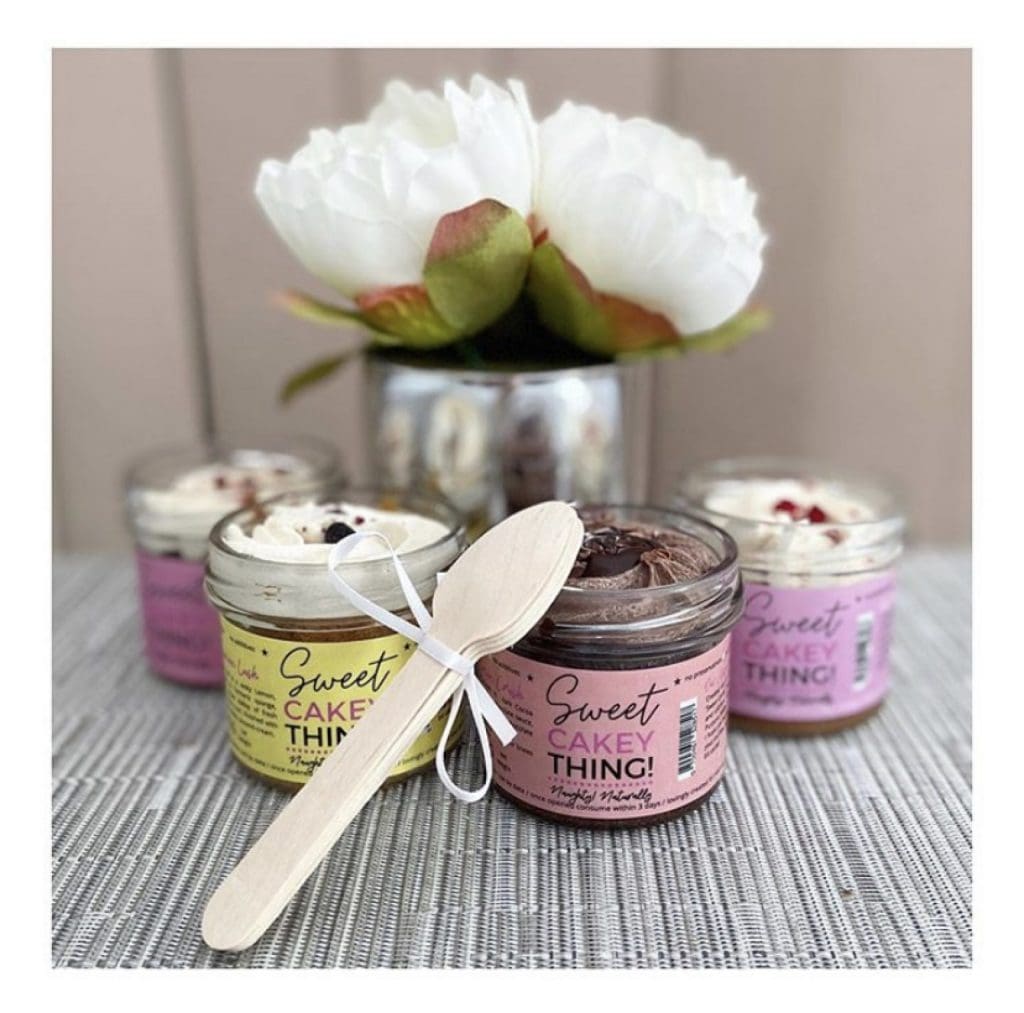
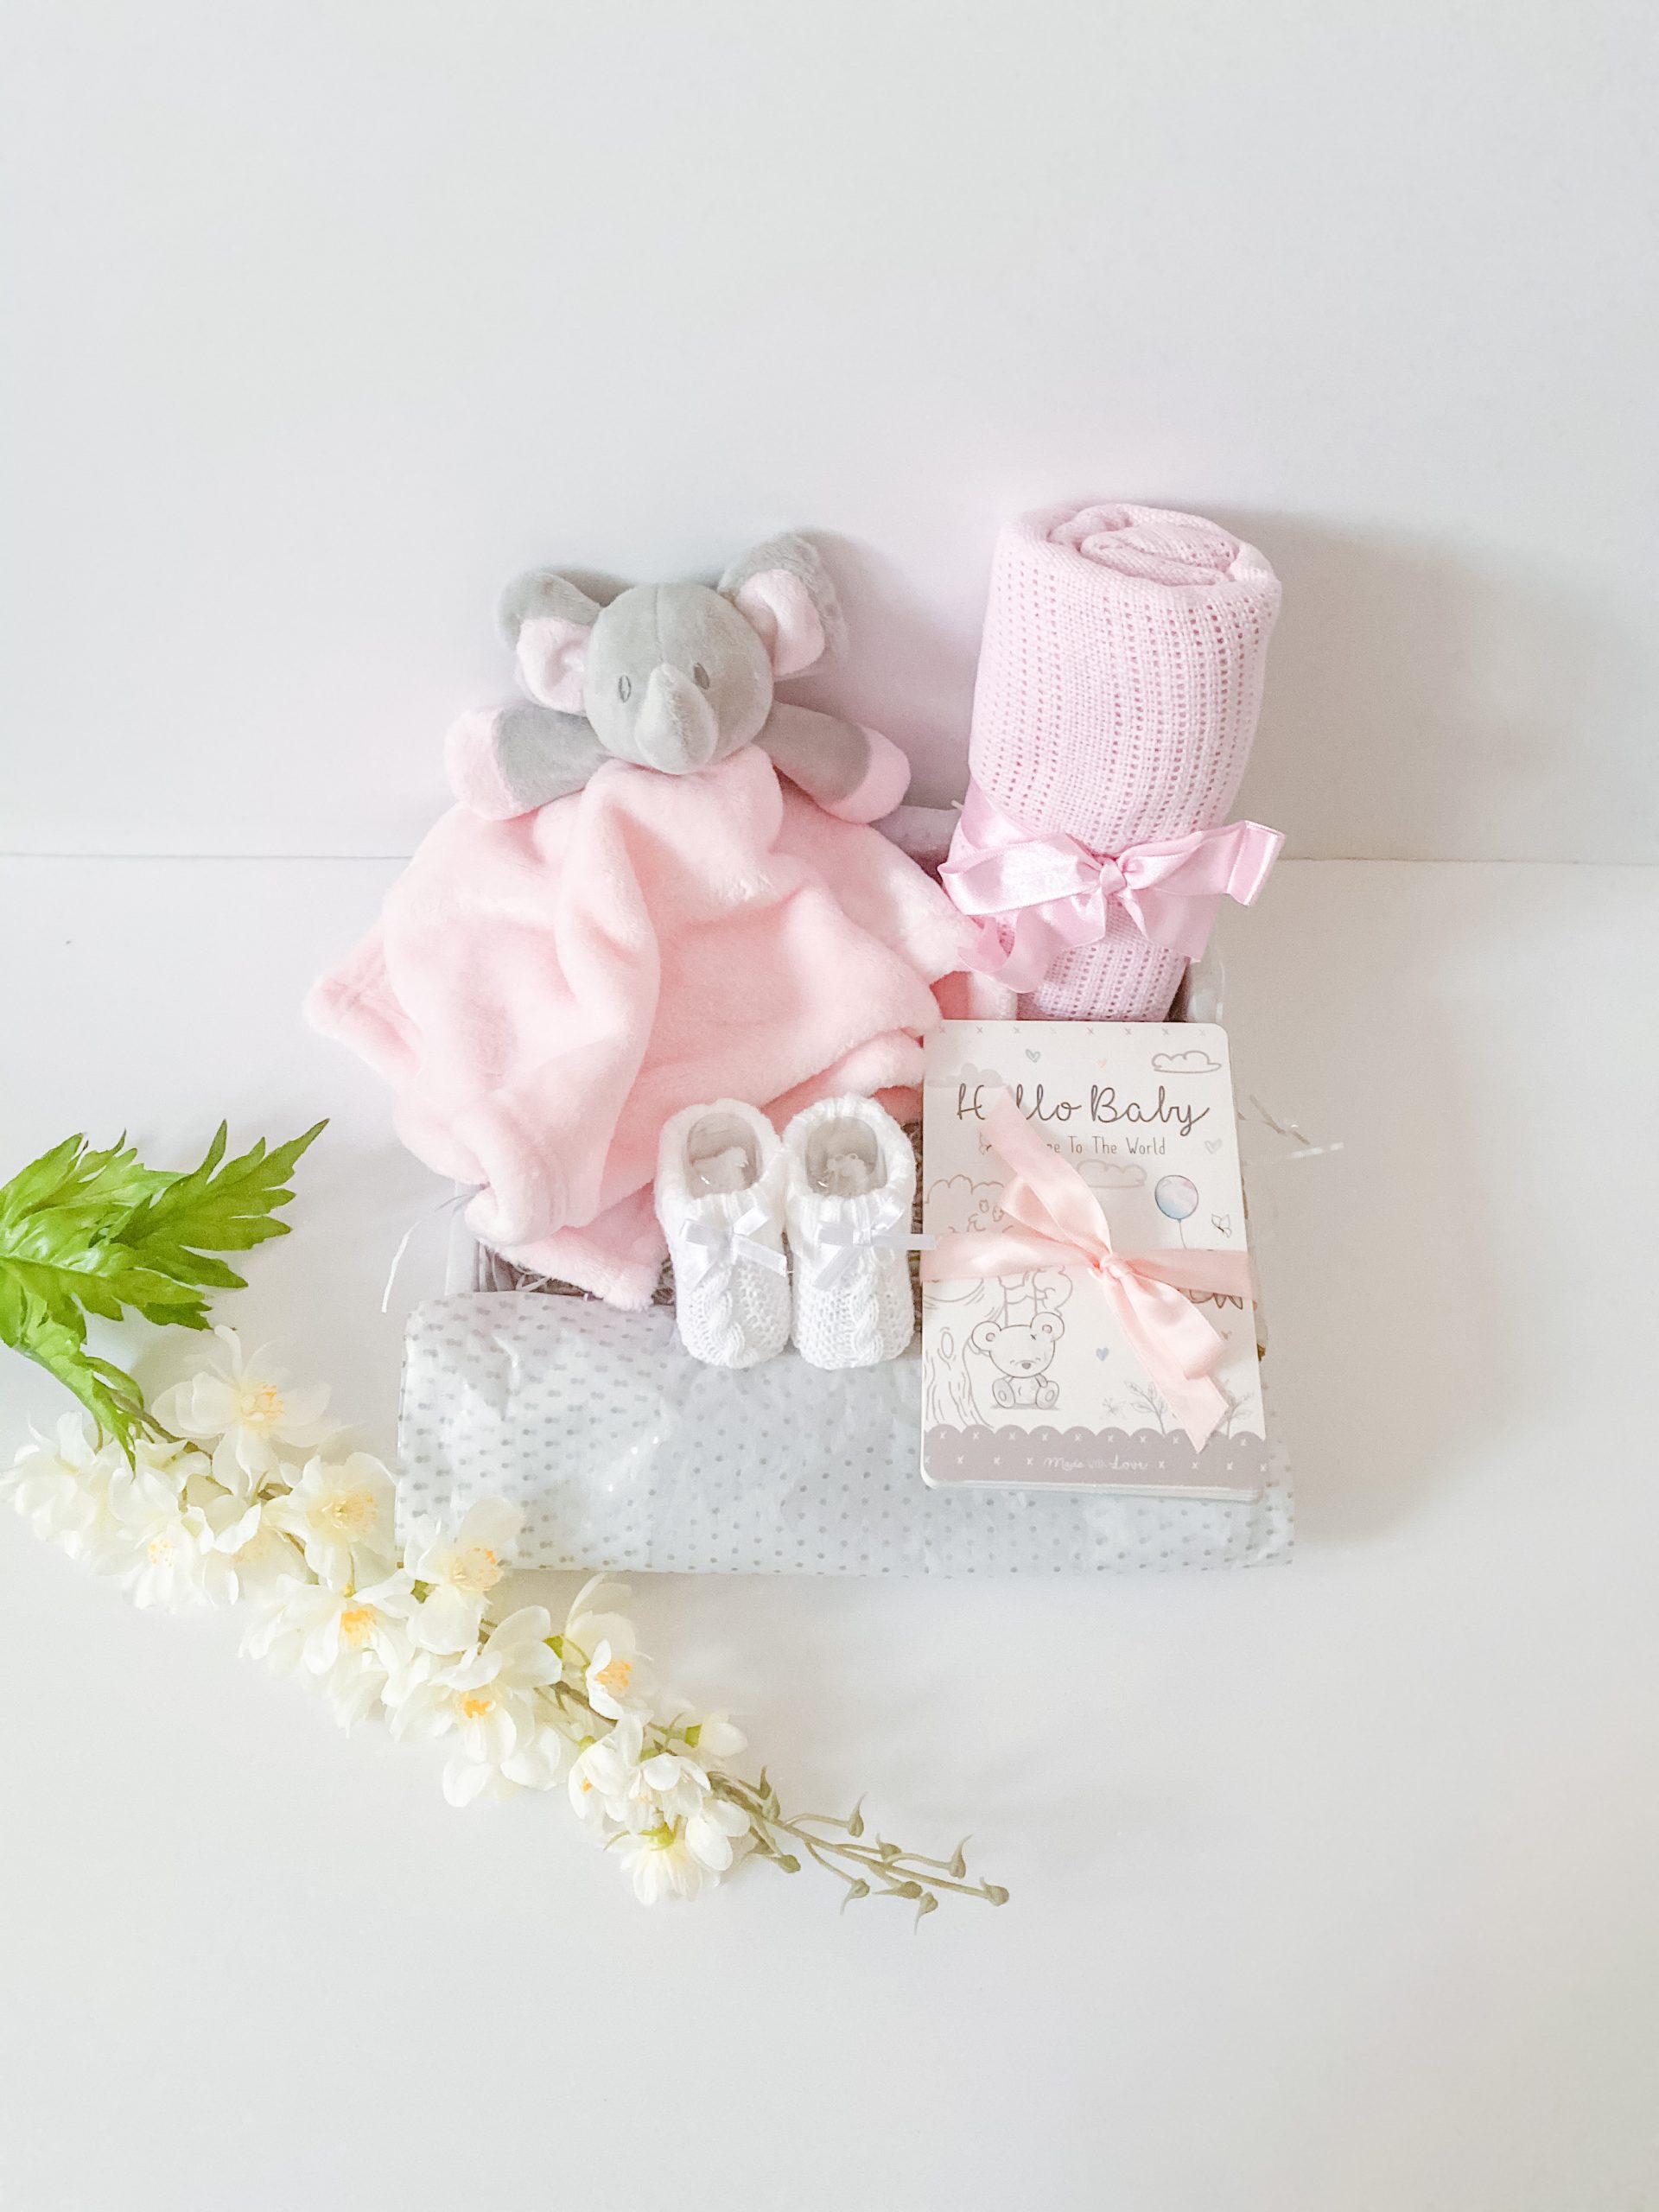
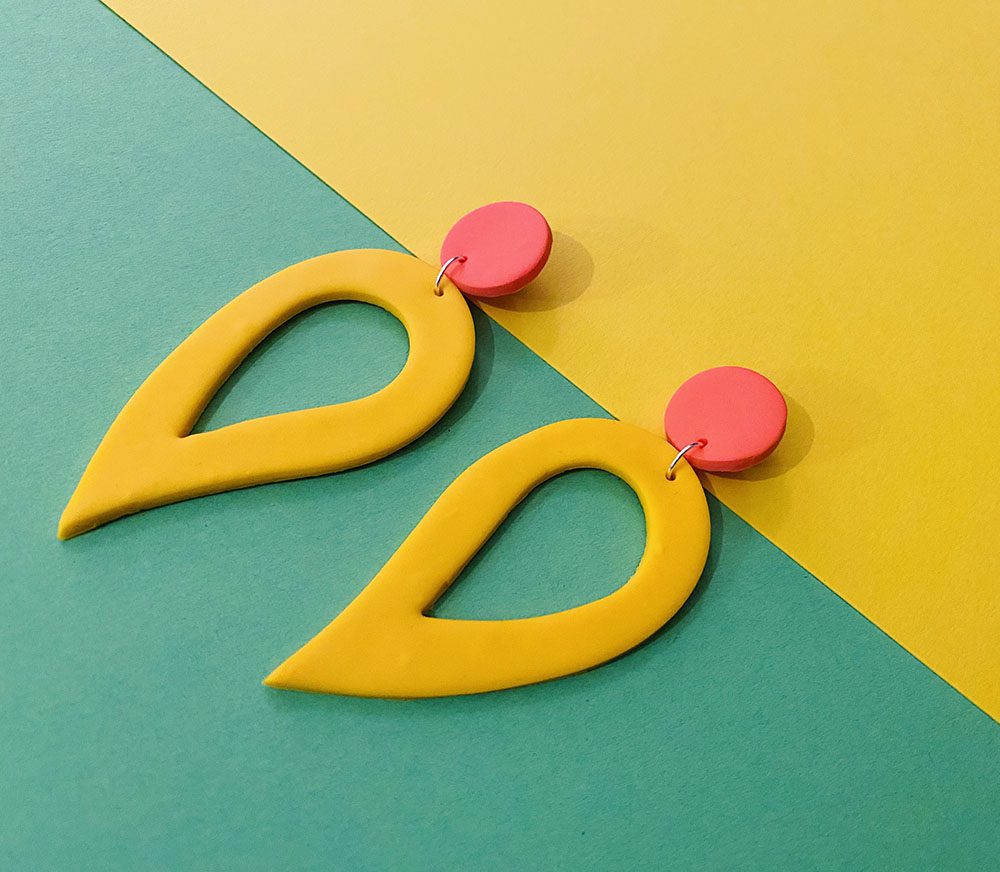
Your background should make your product stand out. Something small like earrings or jewellery might benefit from a plain background, while something larger like a hat might allow a busier background.

Some products, such as stationary or tableware, could benefit from an in-situ photograph. After all, a set of plates wouldn’t look out of place on a table, and this can be useful for bringing it to life.

Contrasting colours can also be a great idea. If your product is blue, consider a vibrant yellow background. Use this idea sparingly though, as you don’t want your product to be washed out or taken over by busy surroundings.

Whatever you choose, ensure your background is wider than the product so it fills the frame.

Surface

Your starting surface should be flat and stable and have enough room for your background and product. Of course, you can add interest by using boxes or books to add different heights, but just don’t make it too busy.

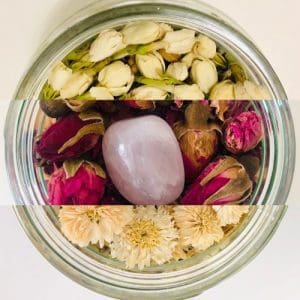
Similarly, you might want to add some extra items around your product. For example, if you sell a bath bomb that contains rose petals, consider sprinkling some around the product. This is a good way to make it “come to life”.

Lighting

Lighting is easily the most important part of taking good pictures of products to sell online. Natural lighting is usually the best option, particularly if the picture includes a person or will be used outside.

Artificial light is good for detailed products, such as jewellery, as it keeps everything sharp.

Whichever you choose, stick to just one in the picture. Mixing both can lead to little benefit from either.

Using bounce cards helps to reduce shadow, and you can buy these online for next to nothing.

Also, when using natural light, a diffuser sheet can help soften things and reduce glare. A white bedsheet will do the job fine.

Finally, make sure everything is well lit. This might mean positioning everything close to a window. Also, ensure the light is behind you or above the product, not behind it.

Don’t use your phone’s flash, as these are awful. Increase lighting with bounce cards, moving closer to the window, or adding more artificial lighting.

3. Position your product

Make sure your product is clean, looks new (unless this isn’t relevant), is free from tags and stickers, and looks like you’d want to buy it.

Stuff bags or hats with tissue paper so they look full (if not being held/worn).

Position the product against the background and have a play around to find the best setup. Your product might benefit from a stand – just make sure it fits the image.

Now is the time to add details if you wish. These can be things like ingredients in the product or extra items that make it appear in use. If you decide to go down this route, be careful not to make things too busy. After all, the point of product photography is to showcase the product.

Once everything is set up, decide on the best angle:

  • Eye level shows the product as if you’re looking at it straight on.
  • High angle appears as if you’re looking down on the product.
  • Low angle is the opposite.
  • Bird’s eye shows the product as if you’re directly over it.
  • Slanted shows the product from one side.

Don’t be afraid to experiment with angles to capture the product’s best side. Just make sure you rotate the product, not the camera. This will mean all shots are framed the same, giving you greater consistency and editing ability.

4. Take the photo

Check your phone’s camera settings, particularly:

  • White balance. Auto white balance (AWB) does a good job if you’re not sure what to use.
  • Image quality. This should be as high as possible, RAW if you can.
  • Exposure. Exposure determines how long the shutter stays open, which impacts image quality. Just be sure to tap the screen over the product so it focuses on that.
  • ISO. Automatic ISO settings are usually fine.

Once all that is done, you can take the photo. Take one (don’t touch your setup) and see how it looks. Play around with the settings if you’re not happy, and keep testing until you are.

Take photos from all angles possible, including some detailed ones if relevant. Don’t use the camera zoom, as this can result in grainy images.

5. Edit your photos

Use your camera app to make some edits to optimise the quality of your product photography. Don’t use filters on these images; you want the colours to be natural and accurate.

Realistically, you should only focus on the “basic” settings: sharpness, contrast, brightness, highlights, and white balance. Everything else is irrelevant with product photography because you want it to be true to life.

Some apps let you save these settings, which makes editing the other photos much quicker. Providing you’ve kept your setup consistent while shooting, the same settings should apply to each photo.

Similarly, some apps have auto-editing features. These can do a lot of the hard work for you, particularly if you’re new to product photography. Even so, give everything a once-over to make sure you’re happy.

You can crop images if you want, but be sparing with this. The product shouldn’t take up too much of the image – it should remain framed by some of the background.

Once your images are edited, you’re ready to upload them to the online marketplace!

 Conclusion

As a business owner, you should never underestimate the importance of taking good pictures of your products to sell online. After all, you want to show them in the best light and draw people in. Good product photography can offer all this.

When taking photos for your online store, don’t be afraid to experiment and have fun in order to find the best images. However you go about it, be sure to arrange some basic equipment to make the most of your product photography.

Wakuda
Wakuda
Logo
Shopping cart